5 Ways To Optimize Your Site’s Images for Google Image Search
You probably optimize the text on your website for search engines but did you know that you can optimize the image you use, too?
Millions of people all over the world use Google Image Search, Bing Image Search, and other similar tools every day.
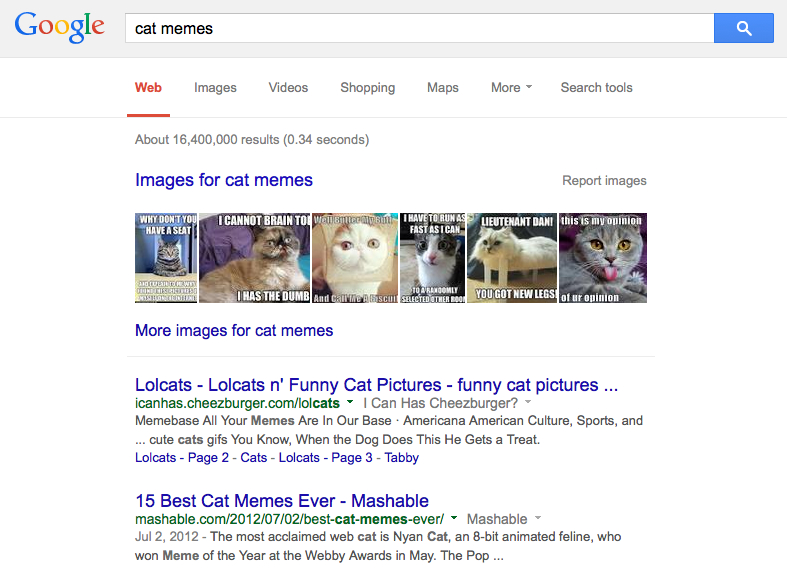
Not only that, but many regular old Google searches also feature results from image search at the top, reminding users that they can find what they are looking for visually.
If imagery plays an important role on your website, and you optimize your images for it, you can actually get a decent amount of traffic through image search engines.
This works best, of course, if you are producing original images for your website. If you are just using stock photos or unedited free images from around the web, you are unlikely to rank well with that image – it already exists in other places.
However, if you are taking or creating your own photos, image SEO could help you win over a lot more traffic.
If you're taking or creating your visual content, image SEO could help you win a lot more traffic.Click To TweetOf course, there are naysayers who claim that image SEO is dead. It’s true that more recent updates to Google Image Search have downplayed the source of images in the results; it is now possible to expand the image to a very large size without leaving the search results, and Google is constantly enticing viewers to click on other images.
Still, others say that image SEO done right can bring you lots of new visitors, and under the right circumstances, it can actually drive some great conversions.
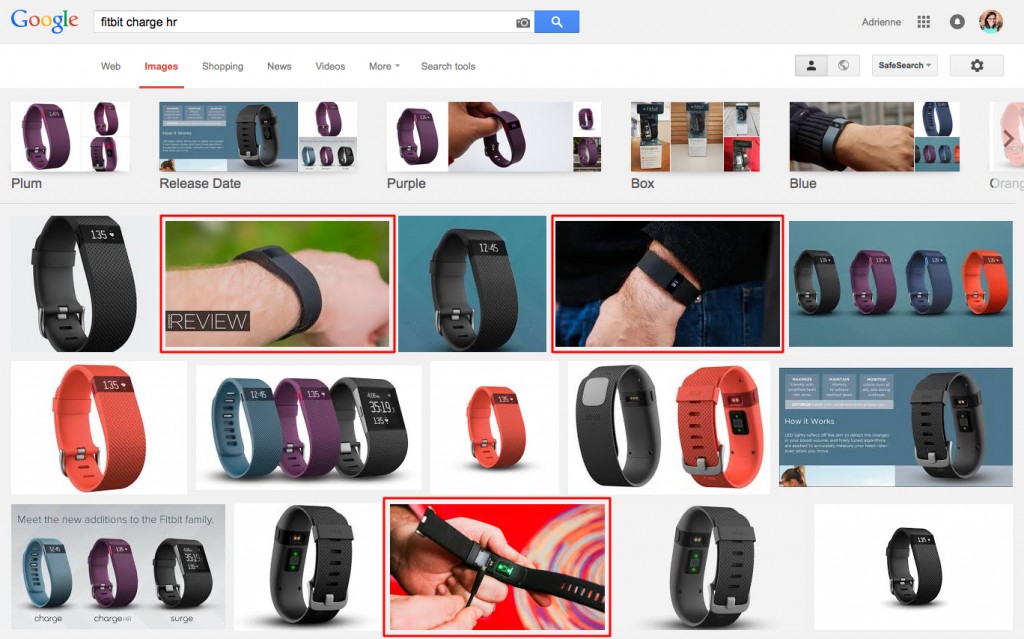
For example, if you resell products through an eCommerce store, you could use the shots provided by the manufacturer, or you could take your own product shots.
Using the provided images is easy, but you aren’t very likely to rank. Google doesn’t like to include too many identical images in the results. By creating your own images, you are much more likely to make it into the results, like these reviewer images of the Fitbit Charge HR have:
Regardless of who you believe, optimizing your images for search engines is still a worthwhile endeavor. Even if they don’t bring you tons of image search traffic on their own, your images are another part of your overall search engine optimization efforts.
On-site SEO is the part of the ranking equation that is 100% under your control – so why wouldn’t you want to do everything you can to improve it?
Ready to jump in? Here are five ways to optimize the images on your site for Google Image Search.
1. Use Sensible Filenames
Believe it or not, image SEO begins before you ever even upload the image to your site!
Google does not officially index text in your images (though they have the patent) and they can’t “read” the things pictured in them. Because of this, you want to give Google all the context clues you can, and the filename is a great place to start.
When you are naming your images, think about what someone looking for this image might search. Is it a product shot? Is it a photo of a person? Use your filename to describe exactly who or what the image portrays.
Also consider the contextual role the image plays on your website. Are you illustrating a blog post? In that case, it might make more sense to name the image something along the lines of the title of your post.
Make sure you follow these guidelines when naming your image files:
- Do not run the words all together or include any spaces.
- The best separators to use are hyphens.
- While it makes sense to include a keyword or phrase, do not shoehorn a bunch of keywords into the filename.
Here are a few good and bad examples for an image:

Good:
girl-in-laundromat.jpg
reaching-for-last-sock.jpg
Bad:
DSC_4325.jpg
girlinlaundromat.jpg
girl.jpg
girl in laundromat.jpg
Of course, the best filename depends on the context you are going for – but you want to avoid space, running words together, and inadequate descriptions, and include keywords if possible.
2. Compress Correctly
While we’re on the topic of saving your file, let’s talk about compression.
Internet connections are getting faster and faster every day, but that shouldn’t be an excuse to get lazy with your image compression. As the web gets faster, users’ attention spans are shrinking; in one study, 47% expected a website to load in 2 seconds or less. That’s a lot of people who are going to give up on your site if your massive hero image takes five seconds to finish loading!
At the same time, users are expecting higher image quality than ever, with larger and larger screen sizes and the popularity of retina.
All things considered, that means that when you save your images, you’ll need to do the following:
- Choose the best filetype for your needs.
- Upload the exact dimensions you need – no larger.
- Compress as much as you can without a significant drop in quality.
That’s a pretty tall order, huh?
Selecting the Filetype
Typically, it is easy to figure out the filetype you need, by asking the following questions:
- Does it animate? Gif.
- Is it a photo? Jpg.
- Is it a logo, or is any drop in quality absolutely unacceptable? Png.
- Do you need transparency, especially alpha transparency? Png.
Google has a straightforward chart for choosing the right filetype:

Uploading the Correct Dimensions
You should always upload the exact size of image you need on your website. Is your blog 800 pixels wide? Resize your image to 800 pixels wide, then upload.
Planning to present the same image at a few different sizes? Generally, that means you should upload multiple copies with the dimensions you need.
For example, let’s say you create an infographic and want to embed it on your blog at 800 pixels but want your visitors to be able to zoom in. If you use code to re-size the graphic, it will take just as long to download as the full-size graphic – because it is the full size! Upload a copy at the full resolution and a second copy downsized to the 800 pixel width.
Compressing Your Images
Finally, you can shrink your files quite a lot without a drop in image quality using compression tools. Generally these tools all work the same way: drop in your image, the tool works its magic, and you can download a nearly identical (but significantly smaller) copy.
I typically just use the in-program compression settings for most images I use on my websites, but anytime I need to publish something larger, like an infographic, I compress it. I also compress heavy animated gifs.
Here are a few tools you can use:
3. Tag Your Images
When you upload your images to a CMS like WordPress, it will often give you the opportunity to add several descriptions.
In WordPress, for example, you can provide a title, caption, alt text, and description. This information is called meta-data.

WPBeginner has a great guide to how these different fields are used, but here are your Cliff’s Notes:
- The title is the text that appears in a tool-tip when someone rolls over your image.
- The caption is the small text that appears directly below the image. Whether you use this or not depends on your preferences. Some people use the caption to credit the image source.
- The alt text is used by screen readers and appears instead of the image if it is broken. It should act as an “alternate” to the image for those who cannot see the image, such as search engines.
- The description appears on your attachment page. Generally, you can just leave this blank.
For SEO purposes, the alt tag is the most important to define, both for crawlers and accessibility purposes. Also, Pinterest draws the pre-populated image description from your alt tag, so if that audience is important to you, you’ll want to make it something that stands out.
In a perfect world, you would put unique text for the title and alt tag. Ain’t nobody got time for that, so if you just want to put the same text for both it’s not going to hurt you.
4. Give Your Images Context
Perhaps the most important indication to Google of how to rank your images is the context clues you provide in the surrounding text. This generally just follows the principles of good SEO; include a few variations of the keywords you are going after several times throughout your page, use one in the title, and stay on topic.
While Google will take the text of the entire page into consideration when deciding how to rank your image, the text immediately before and after the image is the most important.
5. Add Important Images to Your Sitemap
Indexing the pages of your website in a sitemap is a great way to organize and present the important parts of your website to search engines; image sitemaps do the same thing, except for images.
Since they don’t majorly impact your rankings, you won’t want to bother adding every single image on your site to your sitemap. However, you might consider adding important images, like your logo and infographics, to an image sitemap. Here’s how.
Wrapping Up
Optimizing your site’s images for Google can not only help you rank for relevant image searches, but bolster your overall SEO efforts. It’s a good habit that can pay off in increased traffic from the image search results.
Here’s your basic image SEO checklist for every image:
- Choose the correct filetype.
- Upload the exact dimensions you plan to display.
- Give the file a plain English filename divided with hyphens.
- Add a catchy and descriptive alt tag.
- Include relevant content around the image.
And here are some extra things you should do for especially large or important images:
- Compress large images.
- Add important images to your sitemap.
What about images already on your site? While it may not be worth it to go rename all your files, you can check for missing alt tags using this tool by SEOChat. Adding alt tags to images missing them is a quick way to boost your image SEO on older content.
Please share this guide to image SEO if it was useful to you! Are there any tips you would add to the list? Share them in the comments below!